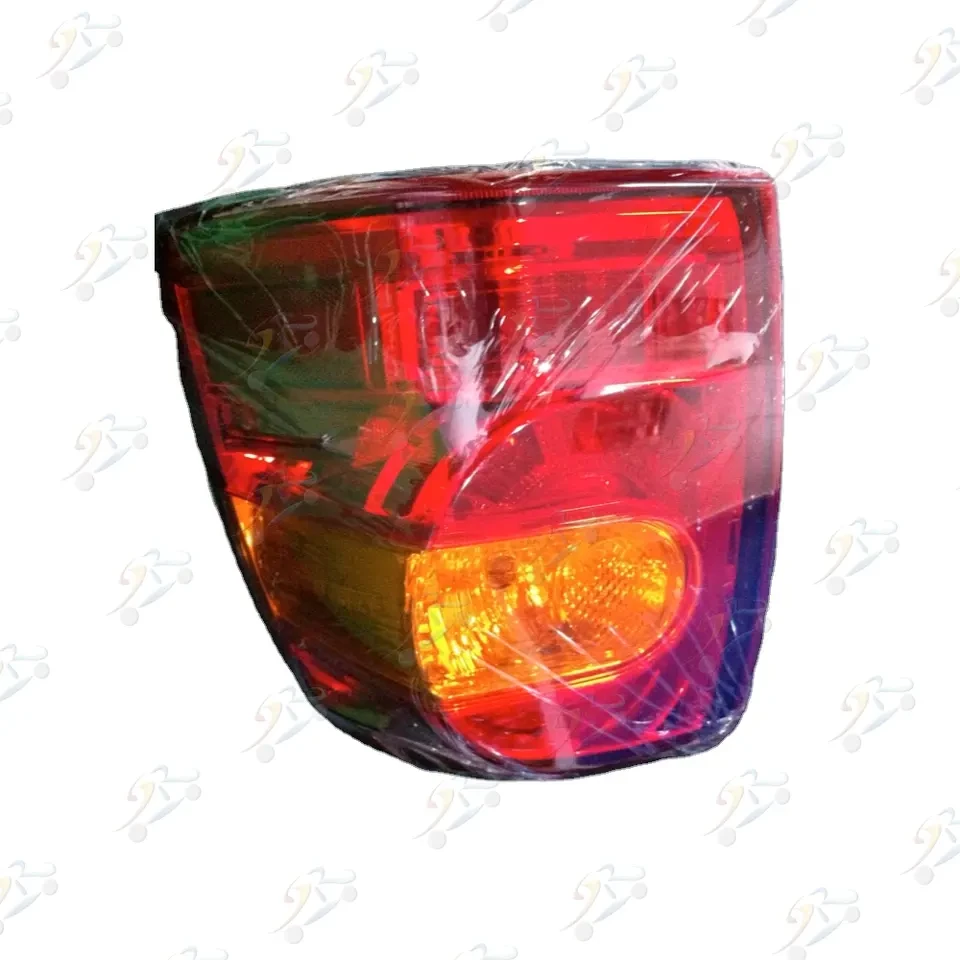

Replacing a tail light on your Land Cruiser can be a simple task, but knowing the right procedure ensures that the replacement is done correctly and safely. In this guide, we will explore how to replace the tail light on your Land Cruiser, focusing on both OEM and ODM options. Whether you're replacing an old or damaged light, this step-by-step guide will help you navigate the process.
The tail light is one of the most critical safety components of your vehicle. It signals your presence to other drivers, helping to prevent accidents. If your Land Cruiser’s tail light is damaged or malfunctioning, it’s crucial to replace it as soon as possible.
While some people prefer to go with OEM parts, others choose ODM (Original Design Manufacturer) options. Both have their benefits, and choosing between them depends on your specific needs, preferences, and budget.
Before we dive into the steps on how to replace your Land Cruiser tail light, it's important to understand the difference between OEM and ODM parts.
OEM (Original Equipment Manufacturer): OEM parts are those made by the same company that manufactured the original part used in your Land Cruiser. These parts typically come with the same specifications and quality as the factory-installed parts.
ODM (Original Design Manufacturer): ODM parts are designed by a third-party company but are often made to match or surpass OEM specifications. ODM Land Cruiser tail lights can offer a similar look and performance to OEM parts but may come at a lower price. Additionally, some ODM manufacturers offer private label options, meaning you can get a customized design if needed.
In cases where you’re wondering how to replace land cruiser tail light private label, it's good to note that these parts often come with additional customization options. While OEM parts are known for their reliability, ODM Land Cruiser tail light options can provide similar performance and aesthetics, often at a more affordable price point.
To replace the tail light on your Land Cruiser, you will need the following tools:
Ensure you have all of the necessary tools before starting the replacement process.
Before beginning any repair work, it’s important to ensure the vehicle is parked on a flat surface and the engine is off. You may also want to disconnect the battery to avoid any electrical mishaps during the process.
To replace your Land Cruiser tail light, the first step is to remove the old one.
Now it’s time to install your new ODM Land Cruiser tail light.
Once the new tail light is in place, it’s important to test it before finalizing the installation.
After confirming that the new tail light is functioning properly, clean the surrounding area and your new tail light. This will help maintain the appearance of your vehicle and ensure the longevity of the replacement part.
When choosing a replacement tail light for your Land Cruiser, there are a few things to consider:
Quality: Whether you opt for an OEM or ODM Land Cruiser tail light, quality should be your top priority. Make sure the part is designed to last and meets your vehicle's specifications.
Design: Ensure the design of the replacement tail light fits your Land Cruiser’s aesthetic. Some Land Cruiser models may have different tail light configurations, so be sure to match the design and size.
Price: OEM parts can be expensive, but they often come with warranties and guarantees. ODM tail lights can provide a more budget-friendly option without compromising performance. If you are opting for a private label ODM tail light, you may even be able to customize the design to suit your preferences.
Installation Instructions: Some ODM tail light manufacturers provide detailed installation instructions. If you're opting for a private label, make sure the manufacturer offers clear guidance on how to replace the tail light.
While replacing the tail light is often a straightforward process, here are a few common problems you might encounter:
Dim Tail Light: If your tail light appears dim even after installation, it could be due to a faulty bulb or a poor connection. Try replacing the bulb or checking the wiring connections.
Tail Light Flickering: Flickering can be caused by a loose connection or a faulty ground wire. Ensure that the tail light wiring is secure and there’s no corrosion.
Broken Tail Light Housing: If the housing is broken or cracked, it’s best to replace the entire unit. This will not only restore the appearance of your vehicle but also maintain the safety of the tail light system.

Replacing the tail light on your Land Cruiser is an important task that can be done at home with the right tools and knowledge. Whether you’re opting for an OEM or an ODM Land Cruiser tail light, the procedure is quite similar. Following the steps outlined above, you can ensure that your vehicle remains safe and functional.
By knowing how to replace ODM Land Cruiser tail light, you can not only save time and money but also enjoy the benefits of a reliable and affordable replacement option. Remember to test the new tail light thoroughly after installation, and if necessary, consult a professional for further assistance. With proper care and attention, your Land Cruiser will be ready to hit the road with a fully functional tail light.
Email format error
Email cannot be empty
Email already exists
6-20 characters(letters plus numbers only)
The password is inconsistent
Email format error
Email cannot be empty
Email does not exist
6-20 characters(letters plus numbers only)
The password is inconsistent