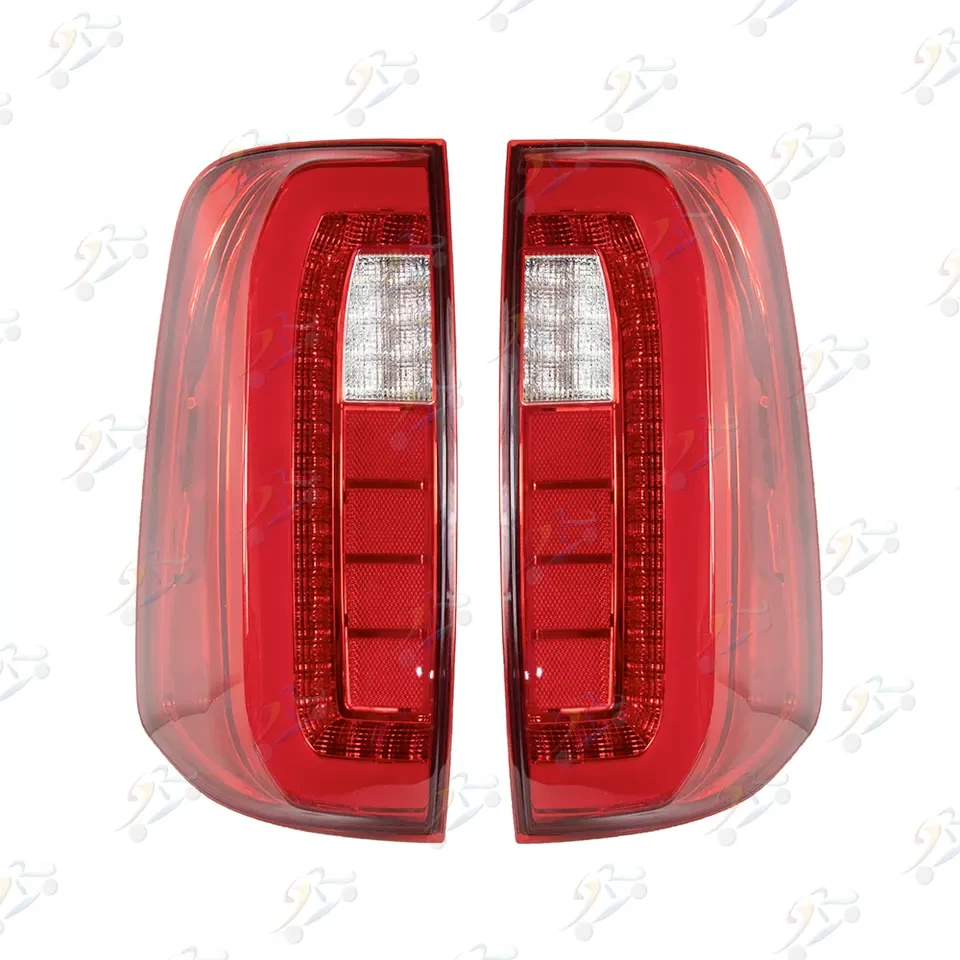

When your Land Cruiser's tail light distributor starts showing signs of wear, it’s essential to replace it promptly. A malfunctioning tail light can compromise safety, especially in low-visibility conditions, and lead to unwanted traffic citations. In this comprehensive guide, we’ll explore the step-by-step process of replacing a Land Cruiser tail light distributor, discuss the tools you'll need, and provide tips for ensuring a seamless replacement.
The tail light distributor plays a critical role in ensuring your Land Cruiser's tail lights operate efficiently. It distributes electrical power to the tail lights, enabling proper illumination for signaling and visibility. Without a functioning distributor, tail lights may flicker, dim, or fail entirely, posing safety hazards for you and other road users.
Recognizing the signs of a failing tail light distributor early can save you time and money. Common indicators include:
Flickering or Dim Tail Lights
A flickering tail light often points to an issue with the distributor's electrical connection.
Tail Lights Not Functioning
If one or both tail lights fail, the distributor may be the culprit.
Burnt Odor or Visible Damage
Any burnt smell or damage near the distributor indicates it’s time for a replacement.
Frequent Blown Fuses
A faulty tail light distributor can overload your vehicle’s electrical system, leading to blown fuses.
Before starting the replacement, gather the following tools and materials:
Before starting, park your vehicle on a level surface and turn off the engine. Disconnect the negative terminal of the car battery to avoid electrical shocks.
Open the trunk or rear hatch of your Land Cruiser. Locate the tail light assembly, usually secured by screws or clips. Use a screwdriver or socket wrench to remove these fasteners and gently pull out the assembly.
Carefully disconnect the wiring harness connected to the tail light distributor. Use your fingers or a flathead screwdriver to release the locking tabs.
Once the wiring harness is disconnected, locate the tail light distributor within the assembly. Unscrew or unclip it, depending on your Land Cruiser’s design, and remove it from the housing.
Position the new Land Cruiser tail light distributor in the housing, ensuring it aligns correctly. Secure it with screws or clips, and reconnect the wiring harness.
Reconnect the battery’s negative terminal and test the tail lights. Use the multimeter to check voltage consistency and ensure the new distributor is functioning properly.
Once confirmed that the tail lights are working, reassemble the tail light housing. Tighten all screws and fasteners securely.
After replacing the distributor, regular maintenance can prolong its life:

Replacing a Land Cruiser tail light distributor may seem challenging, but with the right tools and this step-by-step guide, the process becomes manageable. Prioritize safety, follow the instructions carefully, and test your work to ensure everything operates smoothly.
Whether you’re a DIY enthusiast or a professional mechanic, staying proactive about tail light maintenance can save you from potential hazards and costly repairs. Invest in quality parts and follow this guide for a seamless replacement experience.
Email format error
Email cannot be empty
Email already exists
6-20 characters(letters plus numbers only)
The password is inconsistent
Email format error
Email cannot be empty
Email does not exist
6-20 characters(letters plus numbers only)
The password is inconsistent