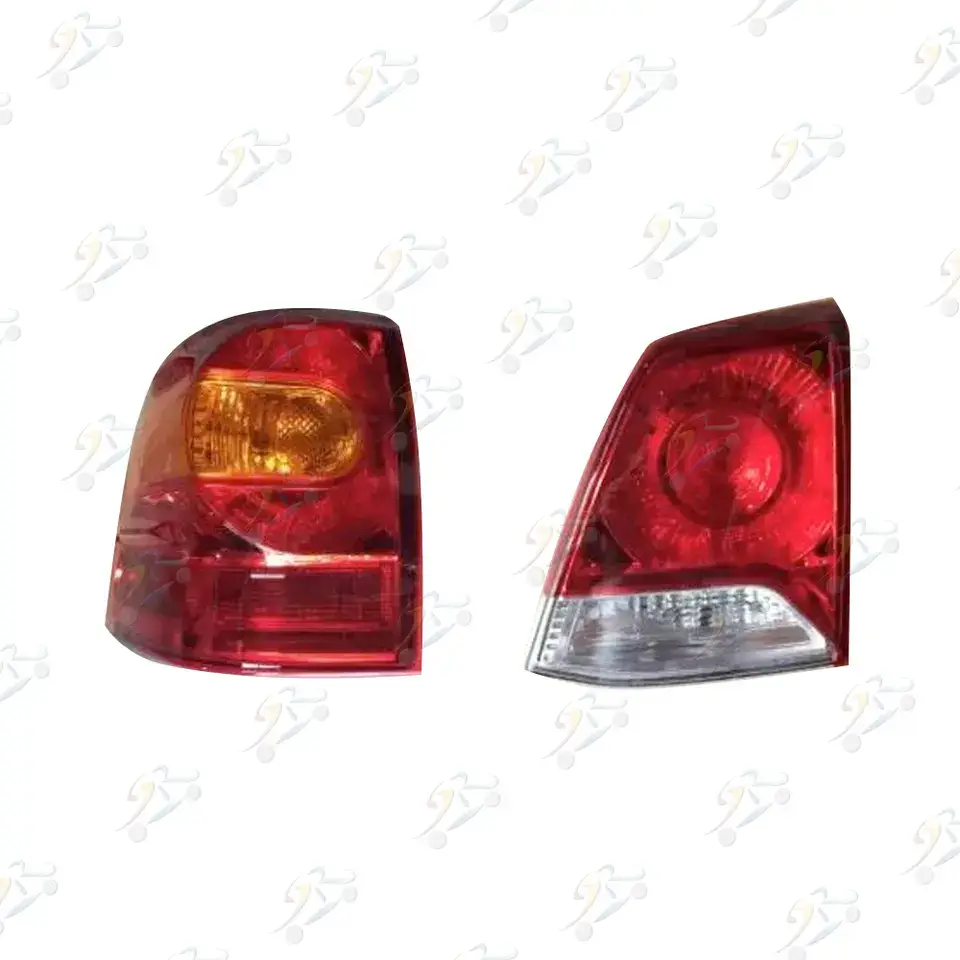

Tail lights are an essential safety feature for any vehicle, including the rugged and dependable Land Cruiser. Whether your tail light is broken, malfunctioning, or you simply want to upgrade, knowing how to replace it can save you time and money. For those sourcing tail lights directly from suppliers or exploring partnerships with a Land Cruiser tail light manufacturer, understanding the replacement process is equally valuable for quality assurance.
This comprehensive guide will walk you through the process of replacing a Land Cruiser tail light, from preparation to final installation. Let’s dive in!
A functional tail light ensures visibility to other drivers, especially during nighttime or adverse weather conditions. A damaged tail light can lead to accidents or fines.
Most jurisdictions require fully operational tail lights. If yours is broken, replacing it promptly can save you from legal trouble.
An intact, high-quality tail light maintains the visual appeal of your Land Cruiser. Cracked or outdated lights can detract from the vehicle’s premium look. This is where a Land Cruiser tail light manufacturer can provide updated and durable replacements to enhance your vehicle's appearance.
Before starting the replacement process, gather the necessary tools and materials. This will streamline the process and reduce delays.
Find a safe, flat surface to work on. Ideally, park your Land Cruiser in a well-lit area or use additional lighting to see the details clearly. Engage the parking brake to prevent the vehicle from moving during the replacement process.
Safety is paramount when working with electrical components. Disconnect the negative terminal of the battery to avoid any accidental short circuits.
Open the rear hatch or trunk to access the tail light assembly. Depending on your Land Cruiser model, you may need to remove a panel or cover to reach the screws and wiring.
If the light isn’t aligned perfectly, make minor adjustments before securing it fully. Once satisfied, tighten all screws and replace any panels or covers you removed earlier.
Whether you’re purchasing a single replacement or sourcing in bulk, selecting the right Land Cruiser tail light manufacturer is crucial for ensuring product quality and longevity. Here’s what to look for:
Research manufacturers with a history of delivering high-quality products. Look for reviews from customers and industry experts to verify their reliability.
If you’re involved in private labeling or wholesale distribution, ensure the manufacturer offers customization for land cruiser tail light private label products.
A trustworthy manufacturer will adhere to strict quality control standards and provide warranties or guarantees on their products.
While cost is a consideration, balance it with quality to avoid frequent replacements and dissatisfied customers.
If you sourced your replacement tail light from a reliable Land Cruiser tail light manufacturer, such issues should be minimal.
While replacing a Land Cruiser tail light is a straightforward task, certain situations may require professional assistance:

Replacing a Land Cruiser tail light is a manageable task that enhances safety, compliance, and aesthetics. By following the steps outlined in this guide, you can confidently replace the tail light yourself. For those sourcing components, collaborating with a dependable Land Cruiser tail light manufacturer ensures you get high-quality products that meet your needs.
Whether you’re tackling a DIY project or managing private label orders, understanding the replacement process is essential. Keep this guide handy for reference, and ensure your Land Cruiser tail lights remain in top-notch condition!
Email format error
Email cannot be empty
Email already exists
6-20 characters(letters plus numbers only)
The password is inconsistent
Email format error
Email cannot be empty
Email does not exist
6-20 characters(letters plus numbers only)
The password is inconsistent