

If you're a Land Cruiser owner, you know how important it is to keep your vehicle in top shape. One essential maintenance task is replacing the tail light. Whether you're doing it yourself or opting for a private label replacement, this guide will walk you through the process, ensuring you have a seamless and enjoyable experience. Let's dive into the exciting world of automotive DIY and learn how to replace Land Cruiser tail light private label.
Before we get into the nitty-gritty, let's understand why replacing your tail light is crucial. Tail lights are a key safety feature, alerting other drivers to your presence, braking, and turning. A faulty tail light can lead to accidents and may result in a ticket from law enforcement. Therefore, knowing how to replace Land Cruiser tail light private label can save you from these troubles while maintaining your vehicle’s aesthetics and functionality.
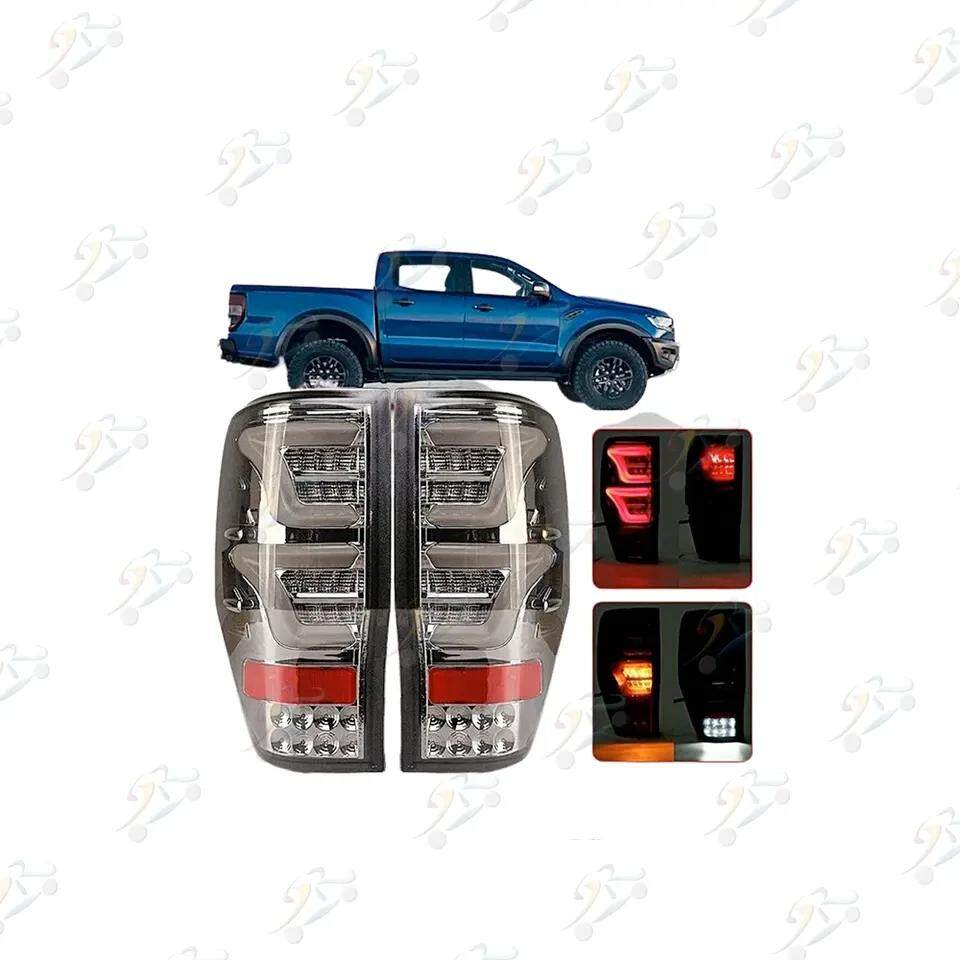
Private label tail lights are an excellent choice for several reasons. They often provide high quality at a lower cost than OEM (Original Equipment Manufacturer) parts. When selecting a private label tail light, ensure it meets the specifications of your Land Cruiser model. Look for products with good reviews, reliable warranties, and compliance with safety standards.
To replace your Land Cruiser tail light, you'll need the following tools and materials:
- New private label tail light
- Screwdriver set
- Socket wrench
- Gloves
- Safety goggles
- Owner's manual
Having these tools ready will make the process smoother and more efficient.
Step 1: Safety First
Before starting, park your Land Cruiser on a flat surface and turn off the engine. Engage the parking brake to prevent any movement. Wear your gloves and safety goggles to protect yourself from any potential hazards.
Step 2: Access the Tail Light Assembly
Open the tailgate of your Land Cruiser. Depending on the model, you might need to remove some interior trim panels to access the tail light assembly. Refer to your owner’s manual for specific instructions. Use a screwdriver to carefully remove the panels without damaging them.
Step 3: Disconnect the Wiring
Once you have access to the tail light assembly, locate the wiring harness connected to the tail light. Gently disconnect the wiring by pressing the release tab and pulling the connector out. Be careful not to damage the wires during this process.
Step 4: Remove the Old Tail Light
Use a socket wrench to remove the bolts or screws securing the tail light assembly to the vehicle. Once the fasteners are removed, carefully pull the tail light assembly out. If it’s stuck, wiggle it gently to loosen it. Take your time to avoid breaking any clips or tabs.
Step 5: Install the New Private Label Tail Light
Position the new private label tail light in the mounting area. Align it with the bolt holes and press it into place. Once it’s seated correctly, reattach the bolts or screws using the socket wrench. Make sure the tail light is securely fastened to prevent any movement while driving.
Step 6: Reconnect the Wiring
Plug the wiring harness back into the new tail light. Ensure the connection is tight and secure. This step is crucial for the tail light to function properly. Double-check the connection before moving on to the next step.
Step 7: Test the New Tail Light
Before reassembling everything, turn on your Land Cruiser's ignition and test the new tail light. Check all functions, including brake lights, reverse lights, and turn signals. If everything is working correctly, you can proceed to reassemble the trim panels.
Step 8: Reassemble the Trim Panels
Carefully reattach any interior trim panels you removed earlier. Use the screwdriver to secure them in place. Make sure all panels fit snugly and there are no gaps.
Step 9: Final Check
Once everything is reassembled, do a final check to ensure the new tail light is functioning properly and all tools are accounted for. Clean up your workspace and dispose of the old tail light responsibly.
- Refer to your owner's manual: It contains specific information for your Land Cruiser model and can help guide you through the process.
- Take your time: Rushing can lead to mistakes. Follow each step carefully to avoid any issues.
- Seek professional help if needed: If you’re unsure about any part of the process, don’t hesitate to consult a professional mechanic.
Replacing your Land Cruiser's tail light with a private label option is a cost-effective and rewarding DIY project. By following this step-by-step guide, you’ll know how to replace Land Cruiser tail light private label efficiently and safely. Not only will you enhance your vehicle's safety, but you'll also gain a sense of accomplishment. Happy driving!
Email format error
Email cannot be empty
Email already exists
6-20 characters(letters plus numbers only)
The password is inconsistent
Email format error
Email cannot be empty
Email does not exist
6-20 characters(letters plus numbers only)
The password is inconsistent
