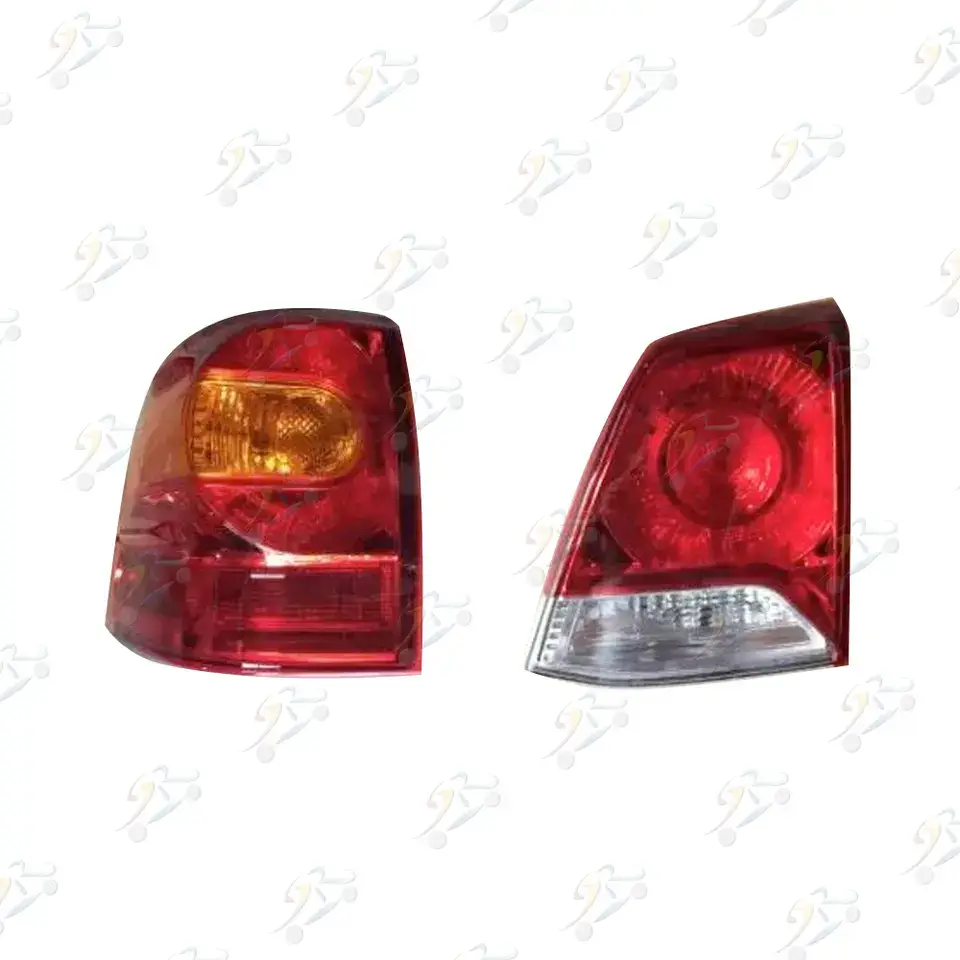

Replacing a tail light on your Land Cruiser may seem like a daunting task, but with the right knowledge and tools, it can be a straightforward DIY project. Whether you're upgrading to a new design or simply need a replacement for a broken tail light, understanding the process is crucial. In this guide, we will walk you through everything you need to know about how to replace a Land Cruiser tail light white label, ensuring your vehicle is as safe and stylish as ever.
Before diving into the technical details, it's important to understand the necessity of replacing a damaged or malfunctioning tail light. Tail lights are essential for driving safety, as they help other drivers see your vehicle from a distance, especially in low light conditions. A damaged tail light can result in dangerous driving situations and even traffic violations.
Knowing how to replace a Land Cruiser tail light white label can save you both time and money, especially if you're looking to avoid expensive dealership repairs. In this blog post, we'll go through the steps, tools, and considerations you need to know.
Before we dive into the actual replacement process, let's go over some important things to consider when replacing your Land Cruiser tail light:
Now that you're prepared, let’s walk through the steps of replacing a Land Cruiser tail light white label. This guide applies to most Land Cruiser models, but always refer to your vehicle’s manual for specific instructions.
Before you start, make sure you have everything you need:
For safety reasons, it’s essential to turn off the vehicle and disconnect the battery before starting any electrical work. This will prevent any accidental shorts or shocks while handling the electrical components of the tail light.
To replace your Land Cruiser’s tail light, you first need to remove the broken one. Here's how:
With the tail light assembly removed, you’ll need to disconnect the wiring harness that connects the tail light to the vehicle’s electrical system. This can be done by pressing the release clip on the connector and pulling it apart. If you're using a white label replacement tail light, the connector may differ slightly from the original, so make sure to check for compatibility.
Now that the old tail light is removed and the wiring is disconnected, it’s time to install the new one:
Before closing everything up, it’s important to test the new tail light to ensure it works properly. Reconnect the battery, turn on your vehicle’s lights, and check that the brake lights, turn signals, and reverse lights are all functioning correctly. If everything works, proceed to the next step.
If the tail light isn’t aligned correctly, or if the screws are too tight or too loose, adjust accordingly. Once everything is in place and functioning, close the rear hatch and give the tail light one final inspection to ensure it’s securely installed.
While replacing a Land Cruiser tail light white label is relatively simple, there are some common issues you might encounter:
Using a white label tail light for your Land Cruiser offers several benefits:
If you're considering a private label tail light, it’s important to ensure that the product meets safety standards and fits properly with your Land Cruiser model. Some private label parts may not be as reliable or durable as OEM parts, so it's crucial to choose a reputable supplier. Be sure to check for warranties or guarantees before making a purchase to ensure you get the best value for your money.

Knowing how to replace a Land Cruiser tail light white label can save you both time and money, and it’s a task that almost any DIY enthusiast can handle. Whether you're replacing a damaged tail light or upgrading to a more modern design, this process will help you maintain your vehicle’s safety and appearance. By following the steps outlined in this guide, you’ll be able to replace your Land Cruiser tail light with ease, ensuring your vehicle stays road-ready.
Remember, always use high-quality replacement parts, whether OEM or white label, and take your time with each step to ensure a proper installation. Safe driving starts with a fully functional tail light, and with this guide, you’re ready to tackle the job yourself!
Email format error
Email cannot be empty
Email already exists
6-20 characters(letters plus numbers only)
The password is inconsistent
Email format error
Email cannot be empty
Email does not exist
6-20 characters(letters plus numbers only)
The password is inconsistent