

In the realm of automotive customization, few upgrades offer the same blend of style, functionality, and efficiency as LED rear car lights. Not only do these modern marvels enhance the aesthetics of your vehicle, but they also provide improved visibility and safety on the road. While professional installation services are available, embarking on a do-it-yourself (DIY) journey can be both rewarding and cost-effective. In this comprehensive guide, we'll walk you through the step-by-step process of upgrading to LED rear car lights, ensuring a successful installation while emphasizing safety and precision.
Before diving into the installation process, it's essential to gather all the necessary tools and materials. You'll typically need a socket wrench set, screwdrivers, wire cutters, electrical tape, and perhaps a multimeter for troubleshooting. Additionally, ensure you have the correct LED rear lights compatible with your vehicle model.
Begin by disconnecting the vehicle's battery to prevent any electrical mishaps during the installation process. This step is crucial for your safety and the integrity of your vehicle's electrical system. With the battery safely disconnected, set up your workspace with ample lighting and ensure it's clean and free of clutter.
1. Removing the Existing Rear Car Lights: Start by locating and accessing the rear light assembly on your vehicle. This may require removing a panel or accessing the lights from inside the trunk or rear hatch. Use the appropriate tools to remove any screws or fasteners holding the old lights in place.
2. Installing the LED Rear Car Lights: With the old lights removed, it's time to install the new LED rear lights. Align the new lights with the vehicle's mounting points, ensuring a snug fit. Secure the lights using the screws or fasteners provided with the LED light kit.
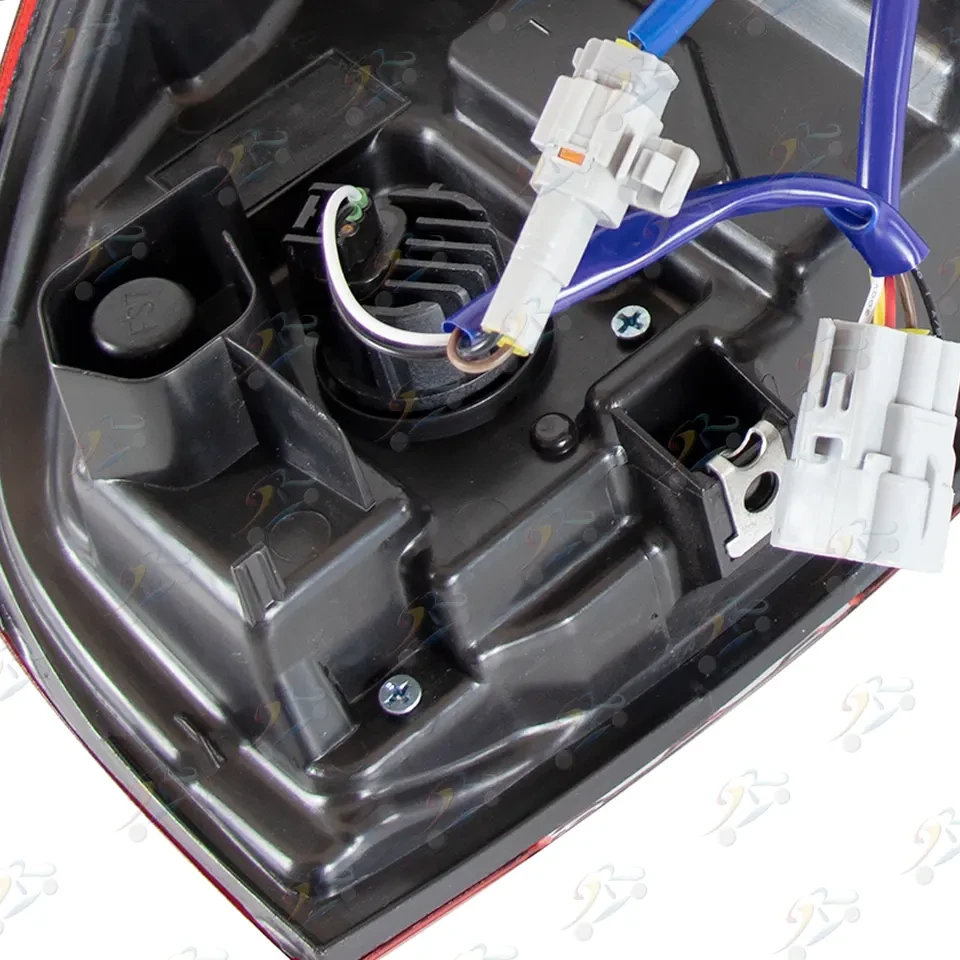
3. Connecting the Wiring Harness: Now comes the electrical work. Connect the wiring harness of the LED lights to the vehicle's electrical system. Start by identifying the positive and negative wires and matching them accordingly. Use electrical tape or heat-shrink tubing to insulate the connections and prevent any short circuits.
4. Testing and Adjustment: Before finalizing the installation, it's crucial to test the lights to ensure they're functioning correctly. Reconnect the vehicle's battery and test each function of the LED lights, including brake lights, turn signals, and reverse lights. Adjust the alignment and fitment of the lights as needed for optimal performance and aesthetics.
To ensure a smooth installation process, consider the following tips:
Double-check all connections and fittings before finalizing the installation.
Take photos or videos during disassembly for reference during reassembly.
Keep installation instructions and user manuals handy for troubleshooting.
Seek assistance from a knowledgeable friend or professional if uncertain about any step.
Despite your best efforts, you may encounter some common issues during the installation process. Here are some troubleshooting tips:
If the LED lights aren't functioning after installation, check the electrical connections and ensure proper polarity.
If lights flicker or dim inconsistently, verify an adequate power supply and check for loose connections or faulty wiring.
If condensation or moisture buildup occurs inside the light housing, seal gaps with silicone sealant and ensure proper drainage channels are clear.
Throughout the installation process, prioritize safety by:
disconnecting the vehicle's battery before starting any electrical work.
using insulated tools to prevent electrical shocks.
Avoiding contact with hot surfaces or moving parts.
following the manufacturer's instructions and warnings for handling LED lights and components.
Embarking on a DIY installation journey for LED rear car lights can be both exciting and rewarding. By following this step-by-step guide and emphasizing safety and precision, you can achieve professional-quality results while saving on installation costs. Remember, patience and attention to detail are key, and don't hesitate to seek assistance if needed. With your new LED rear lights installed, you'll not only enhance the appearance of your vehicle but also improve safety and visibility on the road for a more enjoyable driving experience.
Email format error
Email cannot be empty
Email already exists
6-20 characters(letters plus numbers only)
The password is inconsistent
Email format error
Email cannot be empty
Email does not exist
6-20 characters(letters plus numbers only)
The password is inconsistent
